Hex
Configuring Hex to connect with Sundeck involves creating a new Connection (or modifying an existing Connection) in the Hex “Data Sources” tab.
You’ll need the following before setting up a connection:
- Hex account
- Authentication credentials for Snowflake, along with a default Warehouse and Role
- A configured Broker in Sundeck
You can either update your existing Snowflake data connection to point to Sundeck instead of directly to Snowflake, or you can add a new data connection in Hex.
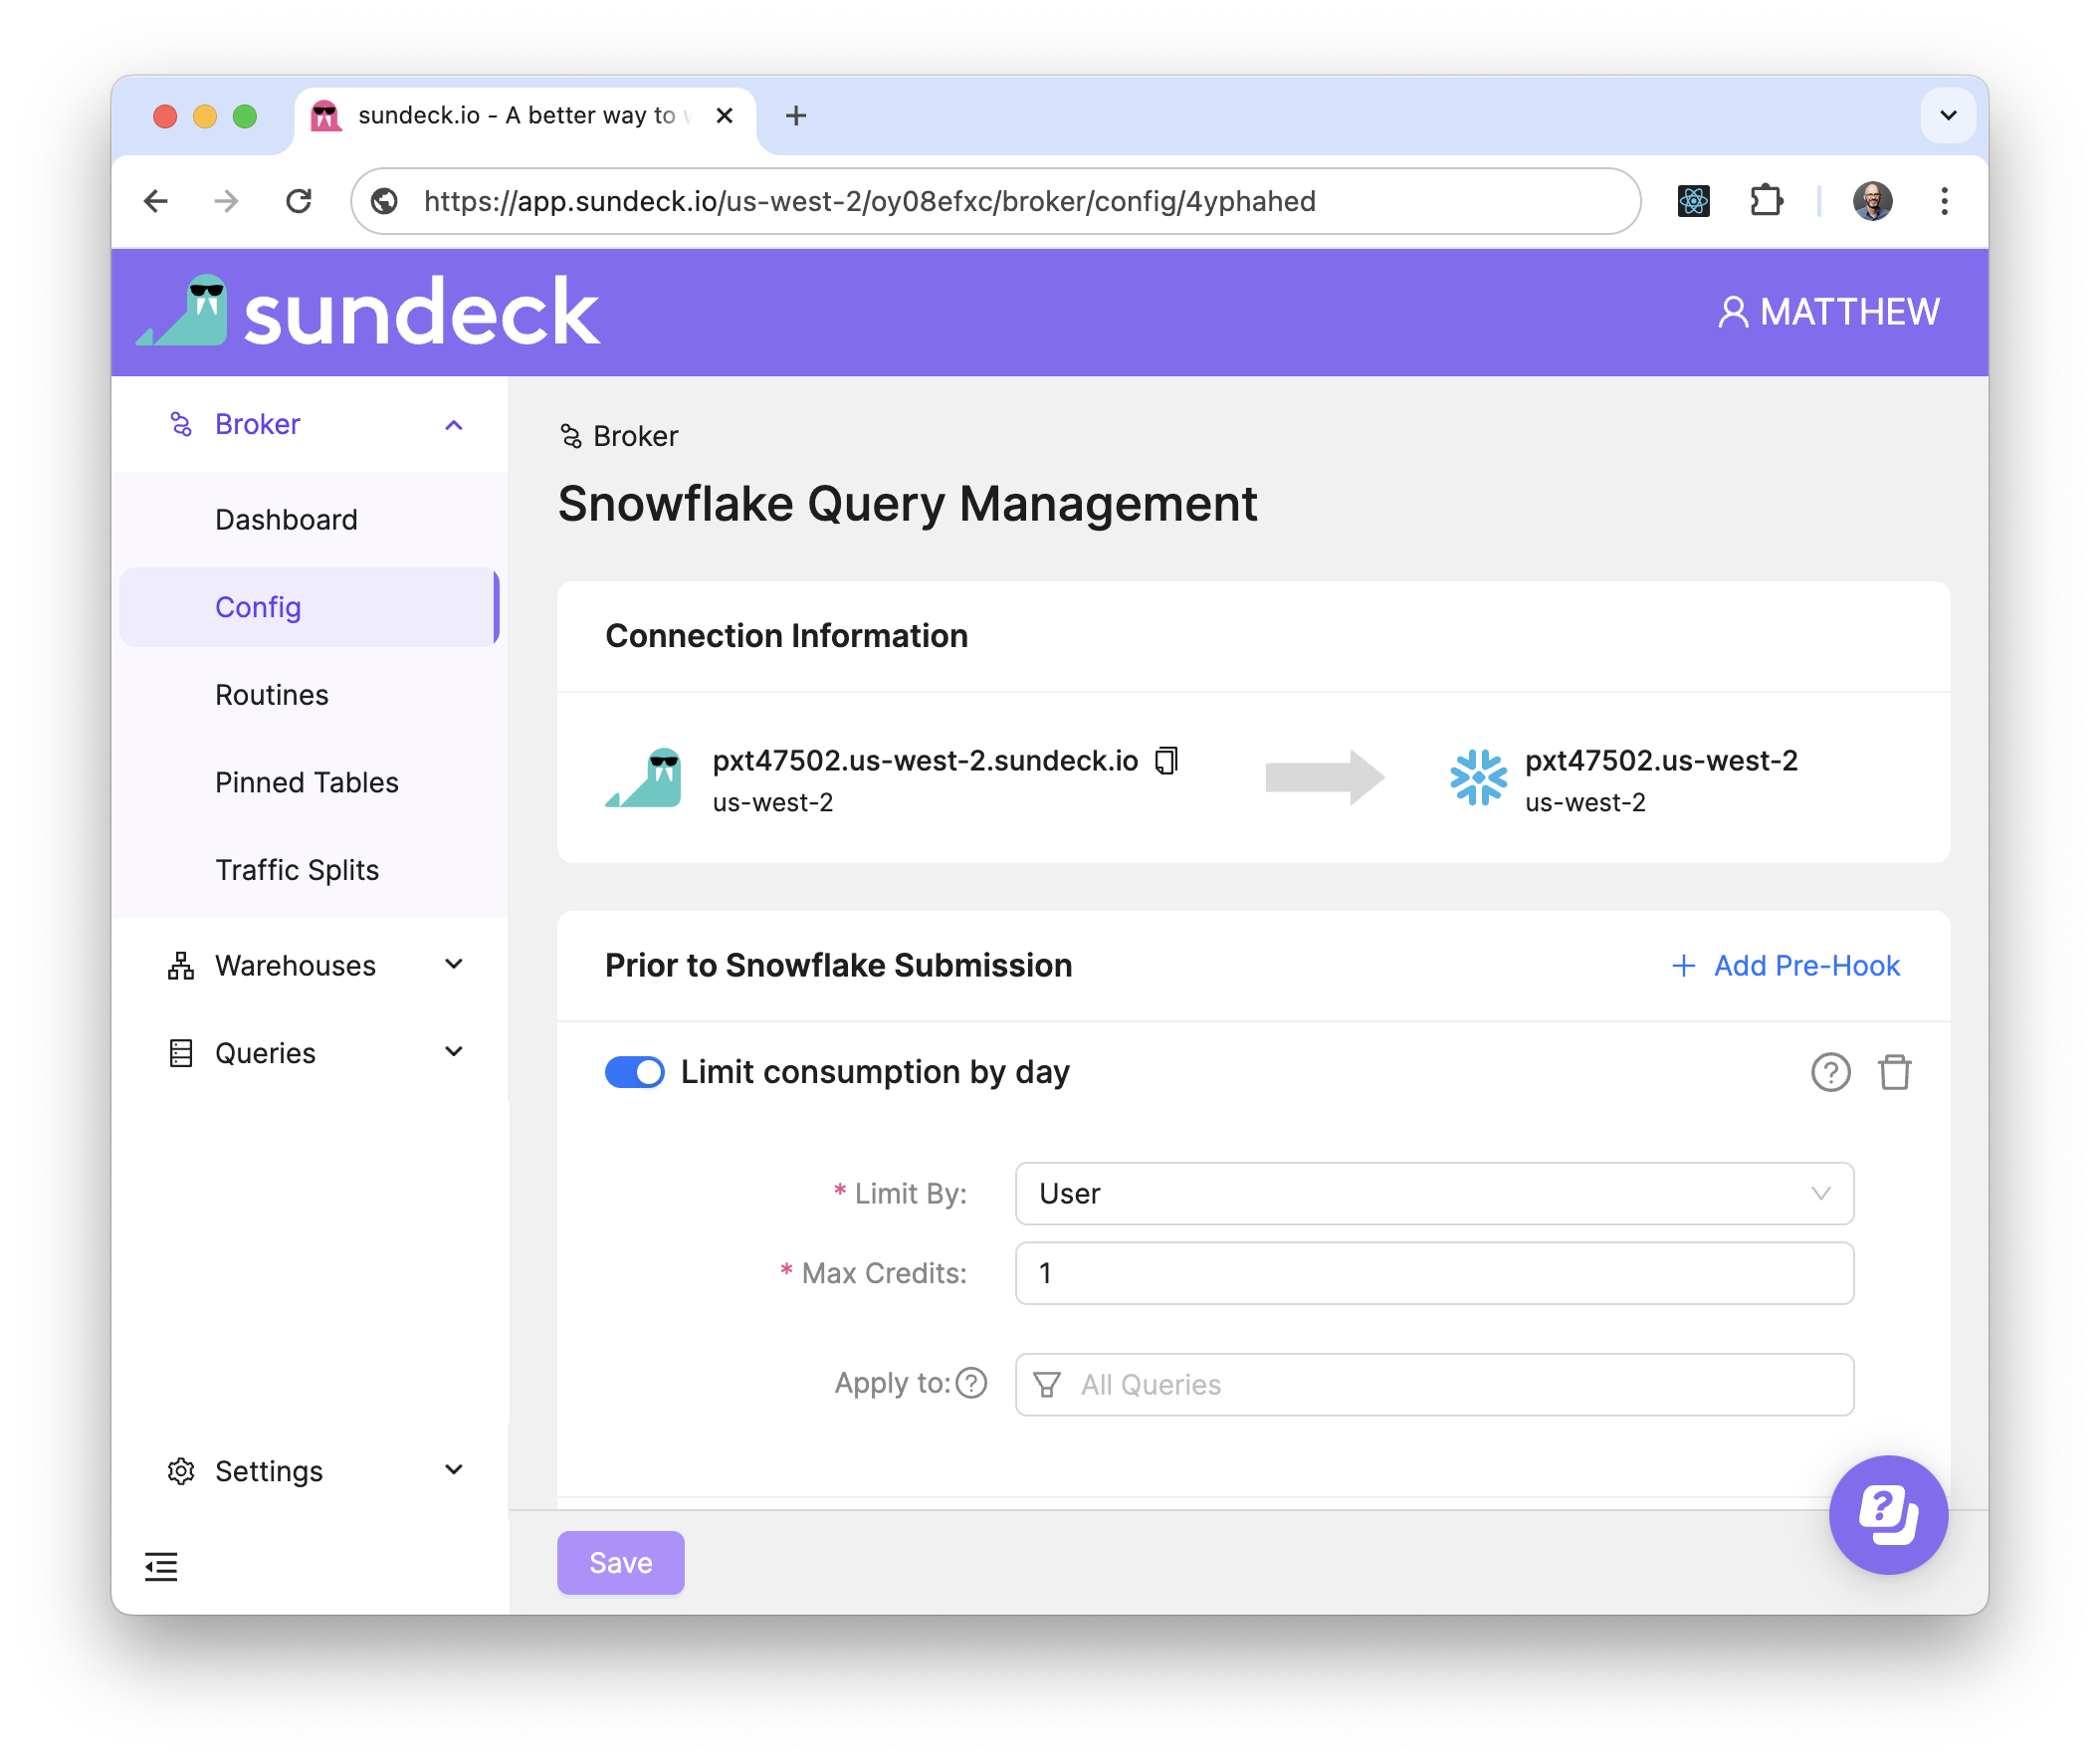
Obtain the Sundeck Broker Hostname
Log into the Sundeck Web UI
Navigate to the Broker > Config page (using the left-hand menu):

Copy the address of the Sundeck Broker. This can be done easily by using the “Copy to Clipboard” button next to the Sundeck Broker Hostname
Within Hex’s data browser menu option you can select Add data connection and then select Snowflake as the connection template. You will see a dialog box with connection parameters for Snowflake that will need to be completed
Give the connection a name
In the “Account Name” field paste the Sundeck Broker Hostname obtained in the first step
Ensure the “Proxy” toggle is turned on
Enter your desired compute warehouse to use for this connection, username and password, and role to connect as:
Click “Create connection” at the bottom right of the page
The connection will be created, and the Connection will appear on the list of “Data Sources”.
Test the connection by clicking on “New project” in the top right corner:
- Click on “SQL Cell”:
- Chose your newly created connection in the “Source” drop down and execute the query
SHOW SUNDECK BROKER;
You can also run simple select query to validate that everything works as expected:
That’s it! You’re now ready to start using Sundeck to enhance your Hex experience on Snowflake!
